Monostein Engine
During our second year at TGA we moved away from the school provided 2D engine and instead began writing our own 3D DirectX11 Engines. In our group I took primary responsibility for our rendering engine. During the course on rendering we went through the basic steps: putting a triangle on the screen, loading a vertex buffer, forward rendered PBR (physically based rendering) and a point light.
On top of this I researched and implemented my own solutions for:
Deferred clustered rendering for lighting and shadows
Instanced Indexed static and animated model rendering
4 Light Types, Multiplicative Ambient, Point Light, Spot light and Directional Lights
Shadow Rendering using a shadow atlas with differing tile resolutions based on the light types.
Data oriented design for model and instance data
Animation System including, blending and additive bone masks
Pre-Multiplied Alpha Blending for transparent rendering
Fully threaded rendering with a built in message queue
Fully threaded model and animation loading
Several post-process effects including:
FXAA, SSAO, Bloom, Fade, Vignette, Desaturations and Colour Grading
Demo Scene
The below scene (left) is a portfolio piece by Sanna Friberg. She kindly provided me the assets and textures as well as an image of how she set up the scene in Unreal Engine, my goal was to use the groups engine to create as near a replica as I could of the scene as I could to help provide a visual comparison. The scene on the right (inside our Engine) is certainly lacking a few features and I’m not much of a lighting artist, but I spent about 3 hours setting out the props in the scene and tweaking lighting.
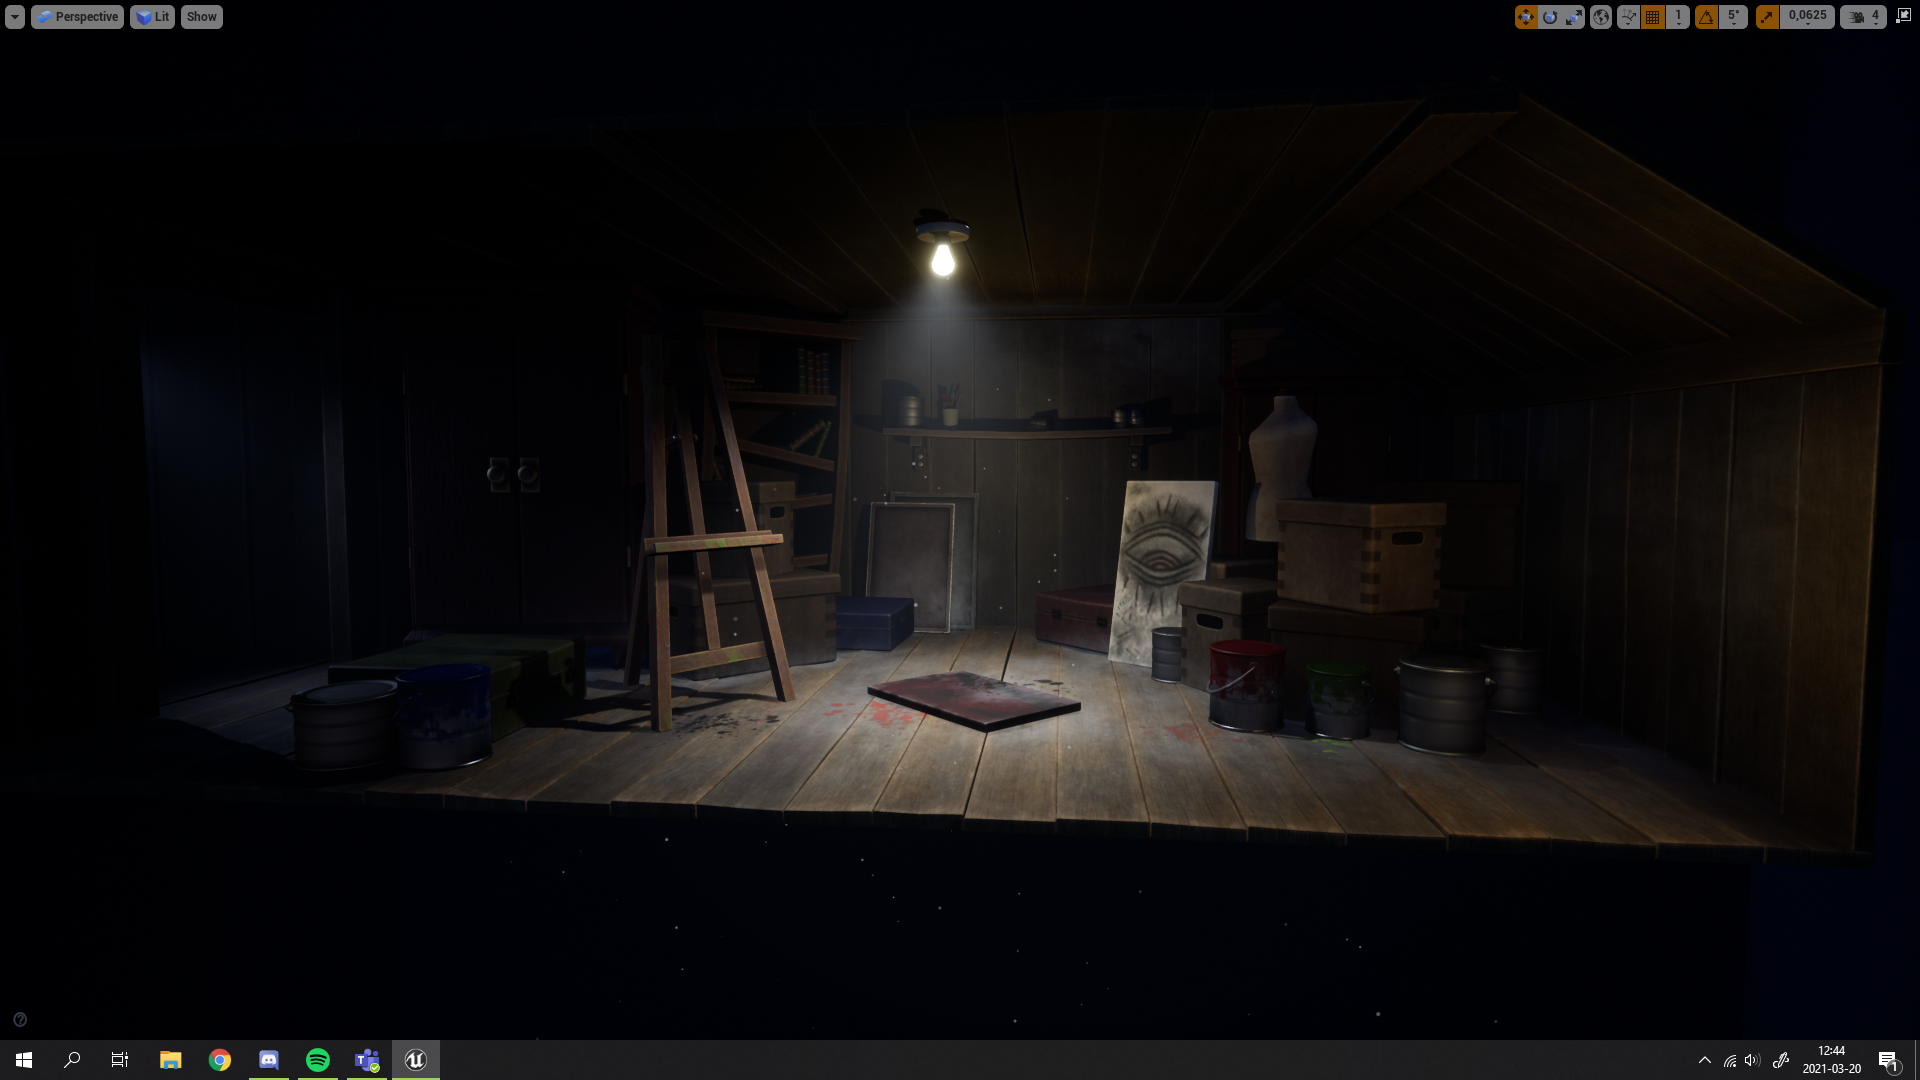
Sanna’s scene built by herself in Unreal

Sanna’s scene built by myself in Monostein Engine
Shadows and Lighting
The below screenshots are taken from in game with a detached camera to provide a better overview, any gameplay footage of these games utilises the techniques.

over 30 point lights and a directional light in Spite: Drowned Souls
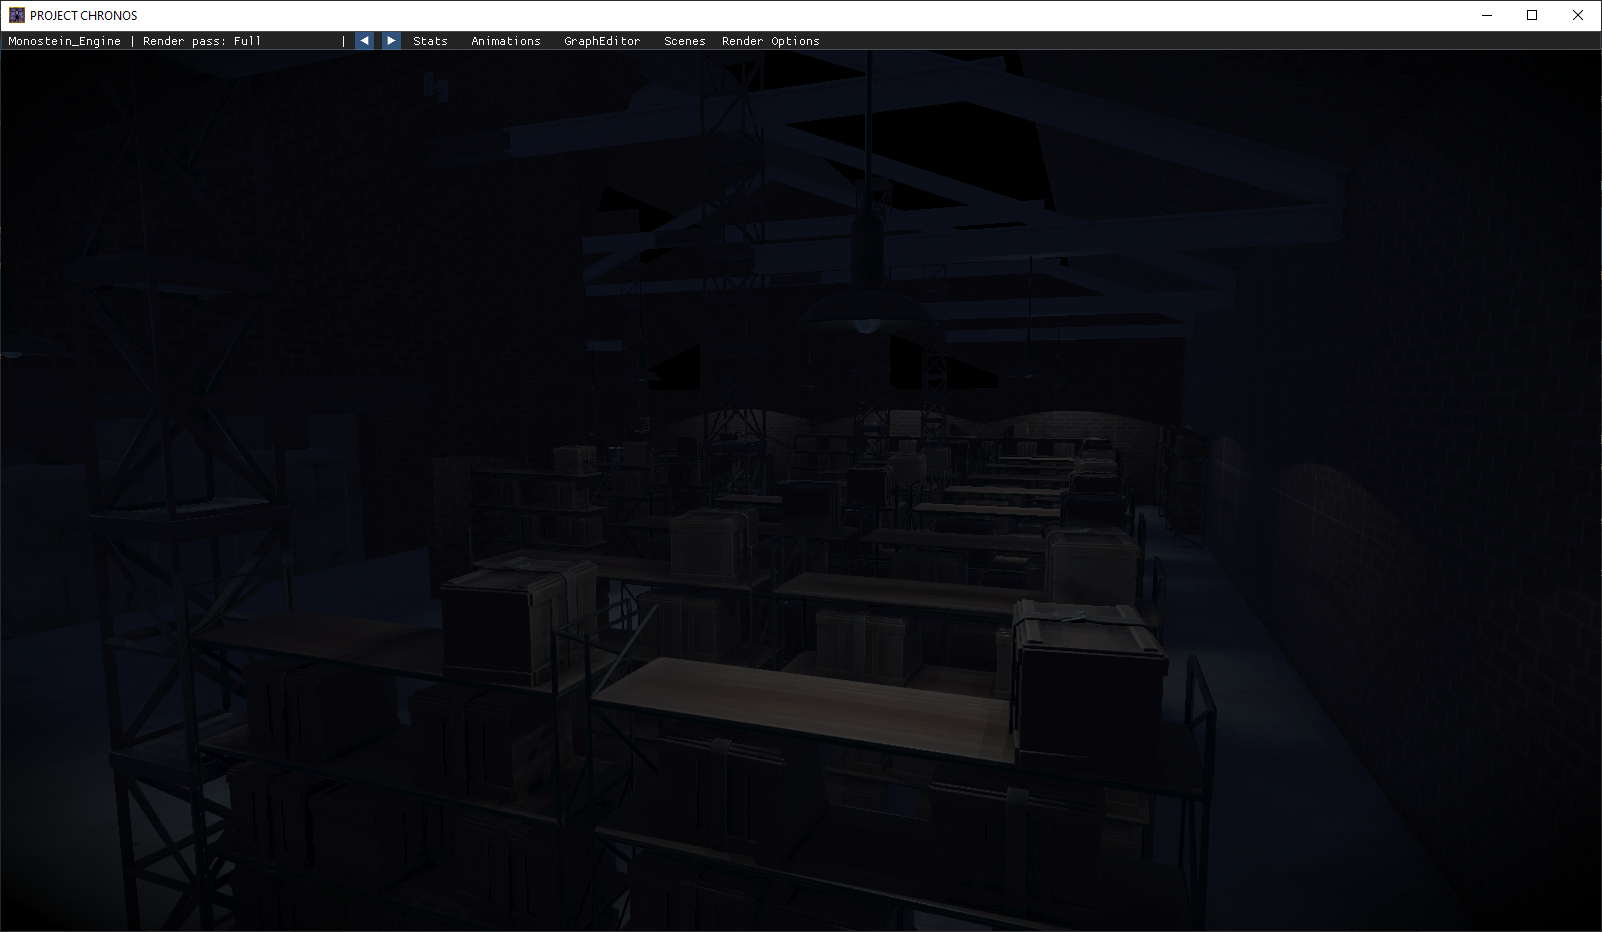
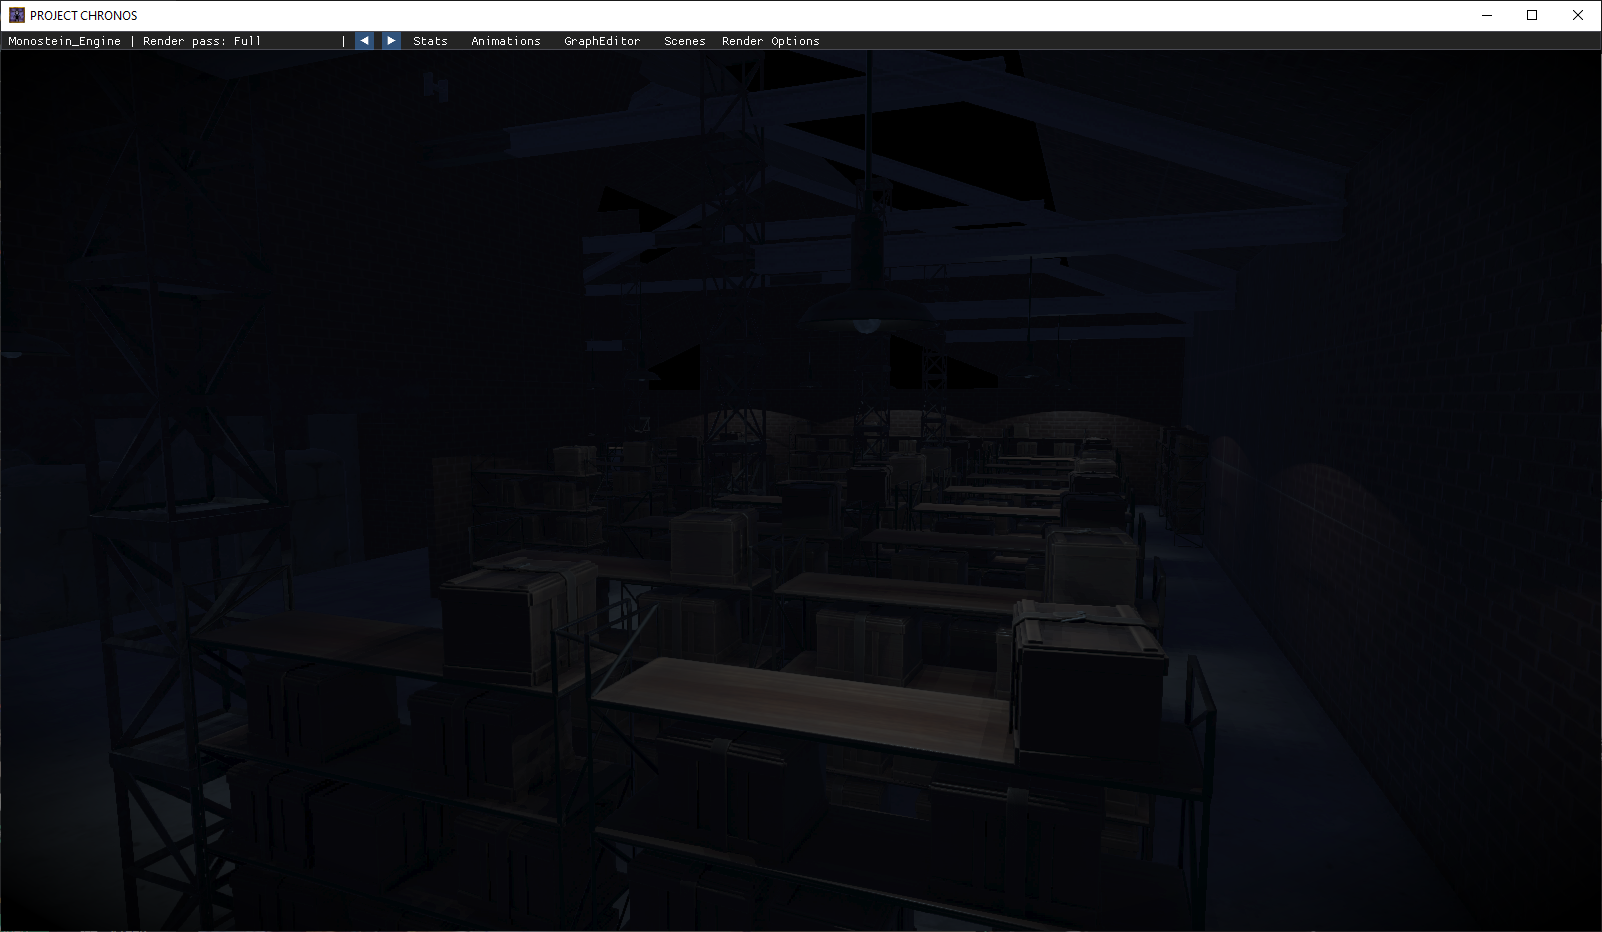
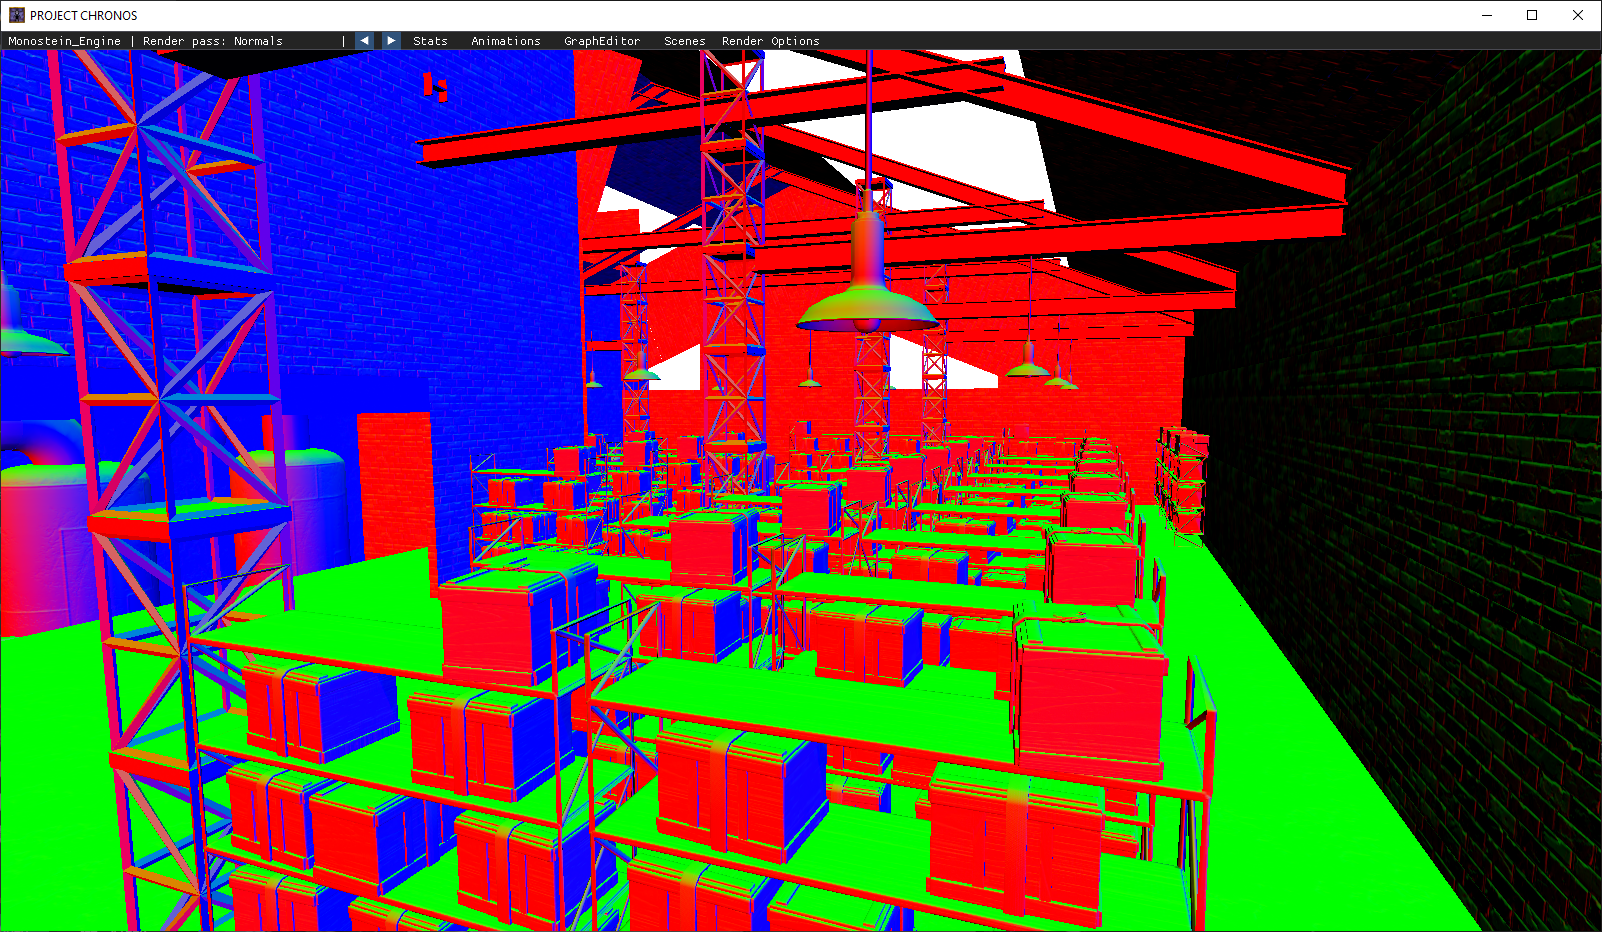
10 Spot lights in Project Chronos
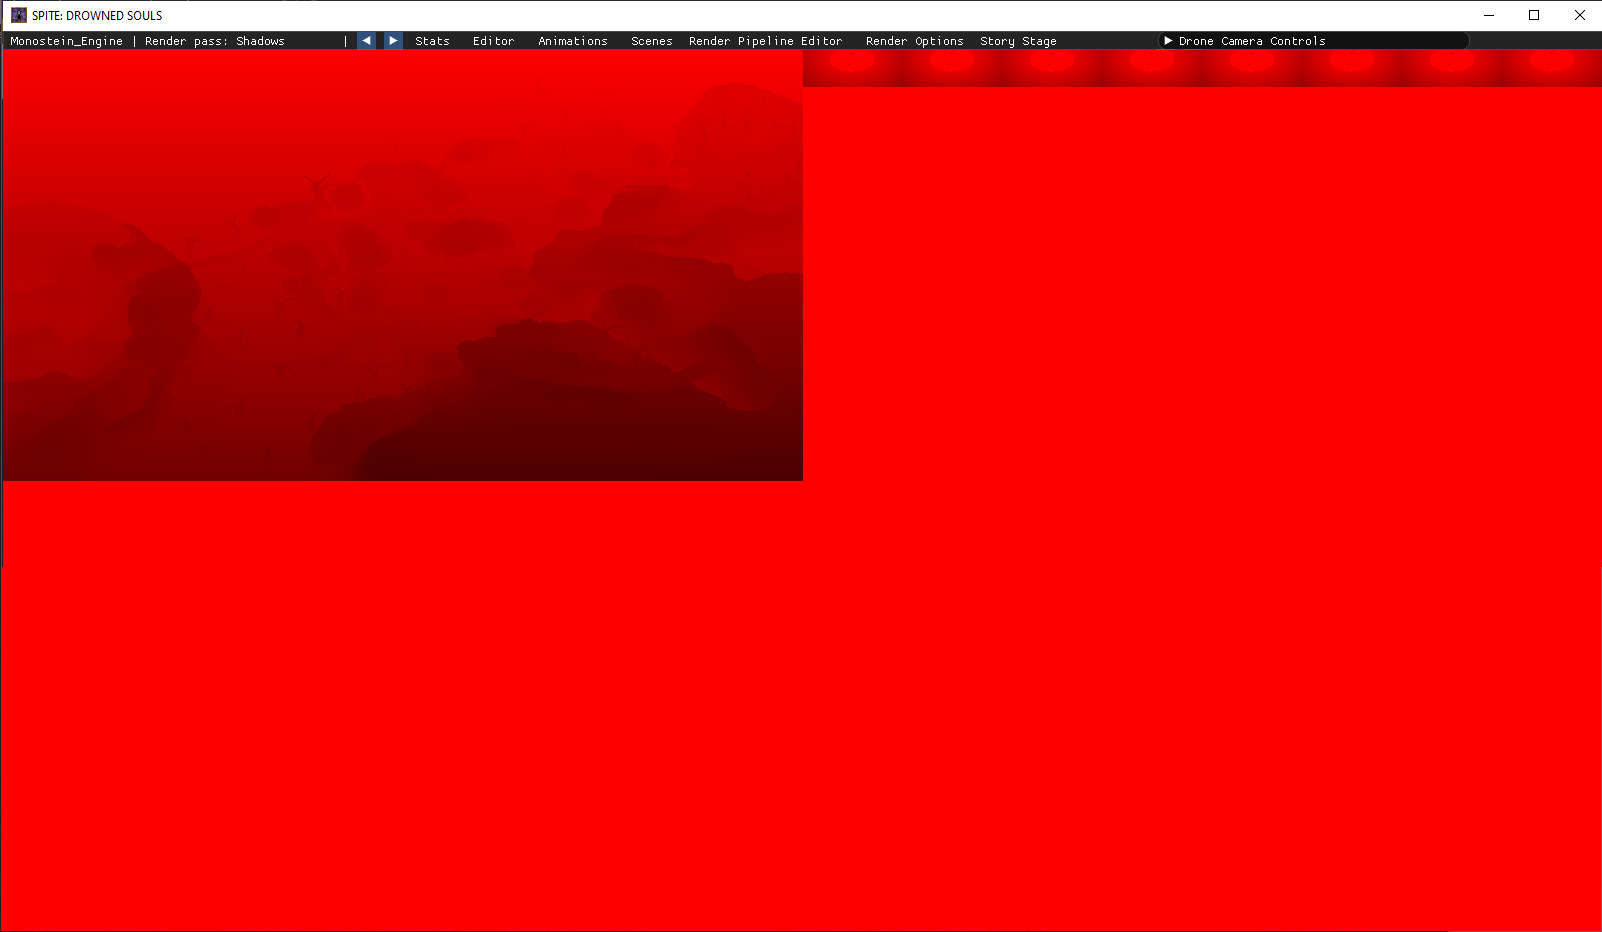
Our shadow atlas stores the projection depth of our lights each tile size is based on the light type. The full target is 8192px * 8192px, of Which:
Directional lights can take a quarter,
Spot lights take 512px * 512px
Point lights have 6 projections for each of its side each taking 128px * 128px,
due to the high resolution of the texture and the much lower resolution of my screen taking shots of the point light shadows in the shadow atlas is challenging.
Data Oriented Design For Models and Instances
All of our model data design is inspired by Entity Component Systems (ECS) and the techniques I have learned from reading about data oriented design. Although I am still new to creating data oriented structures I designed our model structures to load into large pre-allocated arrays. These systems are supported by our instancing system where instances are also array based. These are encouraged to be claimed in blocks that match their common resources. This will allow our instanced rendering system to easily loop over localised data improving our iteration speeds. An instance holds an ID to shared common resources such as models and textures. each instance has its own ID as well, communication between our systems is driven using these ID. Our systems utilise these IDs to queue up operations to be performed on data related to specific instances, for example packing the matrices to our buffers for a number of Model Instances to render, This can easily iterate just the instances without having any concept of what a model is, allowing for much more cache friendly iterations.
Debug Rendering
Monostein engine comes with built in debug rendering capability for rendering out render targets in real time.


The green up axis was compressed away by the gif program
We also had support for common shape debugging like sphere, lines and cubes. As well as providing a common debug function list, Where a user can easily render out orientation lines (both local and world), drawing out grids, linked line lists, AABBs and OOBBs and even skeleton debugging.
Animation Systems
Our animation systems are one of the most developed in our project, having spent a great deal of focus on developing additional features such as blending, additive animations as well as socketing and being able to calculate bone based colliders.

Blending
One of our most used systems in Project Chronos is the Blending system, allowing to to smoothly blend our animations together, we have an editor that allows us to edit blend durations for transitions between our animations, you can read more about our animation tooling here.
Additive Animations and Dynamic Additive Bone Masks
I also wrote a system where we could create additive bone masks these masks link to specific bones allowing us to mask additional transforms into our animations easily without the need of a more complicated 2D-blending system, in the example gif I show how we used the system to add world space transforms to bones, allowing us to use world space rotation applied into the bone space of the skeleton. This was how we solved the Head turning attacks of Grangou in Spite: Drowned Souls.
World-space Additive bone masks

Item-socketing
Socketing
Our animation system allows us to calculate out world matrices for a bone during any of our animations, even when blended or using additive bone masks.
This allows us to easily parent another object to that positions allowing us to socket things like weapons, the editor allows us to preview the item with any of the models animation to ensure we create a socket that doesn’t cause clipping.
Root Motions
We utilised the same bone world position logic to implement our Root Motion system. The function to calculate bone positions was used when an animation looped to get the new position to adjust our models world position.
The socketing and animation programming was done by myself whilst Johan Wikström connected the PhysX transform updates, this was used in Project Chronos and you can read more about it here.


Bone To World-space Colliders
Using the socking system, and basic cube shapes I developed a way to create multiple socketed colliders. This data is then loaded into our games and connected up to our PhysX solution by Johan, you can read more about his implementation here.
Multi-Camera Rending and In-Engine Editor
Our current engine includes an application dockspace and multiple camera render passes that allows us to use multiple cameras capable of our rendering different stages of our rendering pipeline allowing us to play the game whilst having a camera capturing rendering information from different render targets at a differing angle in real-time.
This is a fairly new feature and the camera controls and window interactions need a quality pass to make them more user friendly, but this feels like a large step towards creating a well integrated editor-engine.